Add row
Add a new row – perfect when you have an extra lesson.
Remove row
Remove the last row to adjust the table to your schedule.
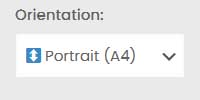
Orientation
Change the table layout from horizontal to vertical, or vice versa – choose what’s more convenient.
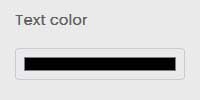
Text color
Select a color in the picker, then click the cell you want to change.
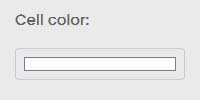
Cell color
Set the background color for selected cells to make your plan clearer and more attractive.

Table background color
Set the background for the entire table – change the mood of your plan with one click.
Reset table color
Restore the default background colors for the whole table.
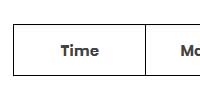
Hour and days of the week
You can edit the headers – just click and type your own label for “Hour” or any day of the week.
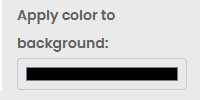
Apply color overlay
Add a transparent color overlay to the table background – like a filter, your background image will still be visible underneath.

Add background
Insert your own image as the table background.
Reset background
Remove the current background and return to a plain table (the background color stays unchanged
Line color
Change the border color of cells to give your schedule a unique look.
Line thickness
Adjust the line thickness in the table – subtle or bold, as you like.
Text formatting
Format the text in a cell – you can make it bold, italic, or underlined with just one click.

Horizontal alignment
Four buttons let you align text in a cell: left, center, right, or justify.
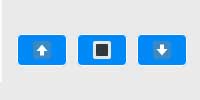
Vertical alignment
Three buttons align text in a cell: top, center, or bottom.
Font choice
Pick a font style for the selected cell – classic or more playful.
Font size
Set the text size to make everything easy to read.
Save plan
Click to download your finished lesson plan as a PDF – ready to print or share.
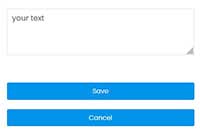
Editing in a popup window
To edit content in a larger and more convenient field, simply double-click on any table cell – both on desktop and mobile devices. A special editing window (popup) will then open, where you can freely enter or modify the text.
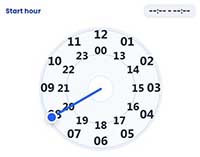
Set Your Class Hours in Seconds
- Double-click a time cell to open the clock.
- Set start time – Drag the pointer on the outer ring (1–12) for AM or inner ring (00, 13–23) for PM.
- Choose minutes – The dial switches automatically; drag the pointer to select any minute (00–59).
- Set end time – Repeat the same steps for the end hour and minutes.
Done! – The time saves automatically in the format HH:MM - HH:MM. You can edit again anytime or clear with Backspace.
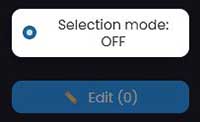
Multi Cell Edit – Fast editing of multiple cells
Desktop (two ways):
• Hold Ctrl and click multiple cells → press Enter to edit
or
• Click Selection mode on the floating panel → select cells → ✏️ Edit (N)
Mobile / Touch devices:
Activate selection mode, pick your cells, and edit them all at once.
Tip:
Most customization features become available when you click on a cell. You can easily change colors, fonts, and text alignment for each part of your schedule. Try out different looks until you find your favorite – and remember, you can always reset if you want to start fresh!